
Hand Lettered Wine Bottle Engagement Gift

Did you know that December is statistically the most common month for engagements? I’m not surprised, my own engagement happened in December! I was so excited when my sweet brother proposed to his girlfriend last week, that I quickly put this little DIY together to give them as an engagement gift at Christmas!
I’ve put together a simple tutorial so that you can make these easy DIY’s too. Grab your materials and let’s get started!
You’ll Need:
· Your favorite bottle of Champagne or Sparkling Wine
· Permanent Adhesive Vinyl (I used this metallic silver)
· Cricut or Silhouette cutting machine (I have this one)
· Clear transfer tape
· Hand Lettered Design (grab mine FREE here!)
· Optional: iPad Pro, Apple Pencil, Procreate app
Step One: Hand Letter (Skip to Step 2 if you’ve already downloaded my FREE design above!)

I create all my hand lettered designs in the procreate app on my iPad Pro. You need an Apple Pencil to write on the iPad. This blog post goes into detail which iPad and apple pencils are compatible together!
Step Two: Design Space
Upload your design into Cricut Design Space. Select “Simple” design (since it’s just black and white lettering) & click “Continue”.


If you’ve uploaded my transparent PNG, you won’t have to worry about the next step. Make sure the background is erased behind the lettering, then click “Continue” at the bottom.

On the next page, click “Save as Cut image”. If we were making stickers we would print then cut, but for this we want our design to be fully cut out of the vinyl!


You will now be able to open a new Canvas and add your design. We will click the corner & drag it to the correct size. Each number in Design Space represents an inch, and they match the numbers on your cutting mat.

I’ve measured my champagne bottle and decided on my design being 3.5” inches wide by a little over 2.5” inches tall.
Once you’re happy with the sizing, click the “Make it” button at the top right of your screen.


The next window will show you a preview of your design on the cutting mat. Grab your vinyl, and measure and cut to size. Since we are working with regular adhesive vinyl, apply the vinyl to your mat with the color side facing up.

Step Three: Cut
Load the mat into your machine with the vinyl attached. Turn the dial on your machine to the “Vinyl” setting.
Press start & watch the magic happen!


Step Four: Weed
Use the weeding tool (linked above) to remove the extra vinyl from around the cut images. Make sure to remove all the tiny pieces from inside the letters.

Step Five: Transfer Tape
Apply clear transfer tape on top of your design. Use the scraper tool to make sure its applied firm enough to pick up the vinyl letters when lifted.


Step Six: Peel and Stick
Peel your transfer tape away with the letters attached. If they don’t come up easily, use your scraper tool to make sure they are stuck on well.

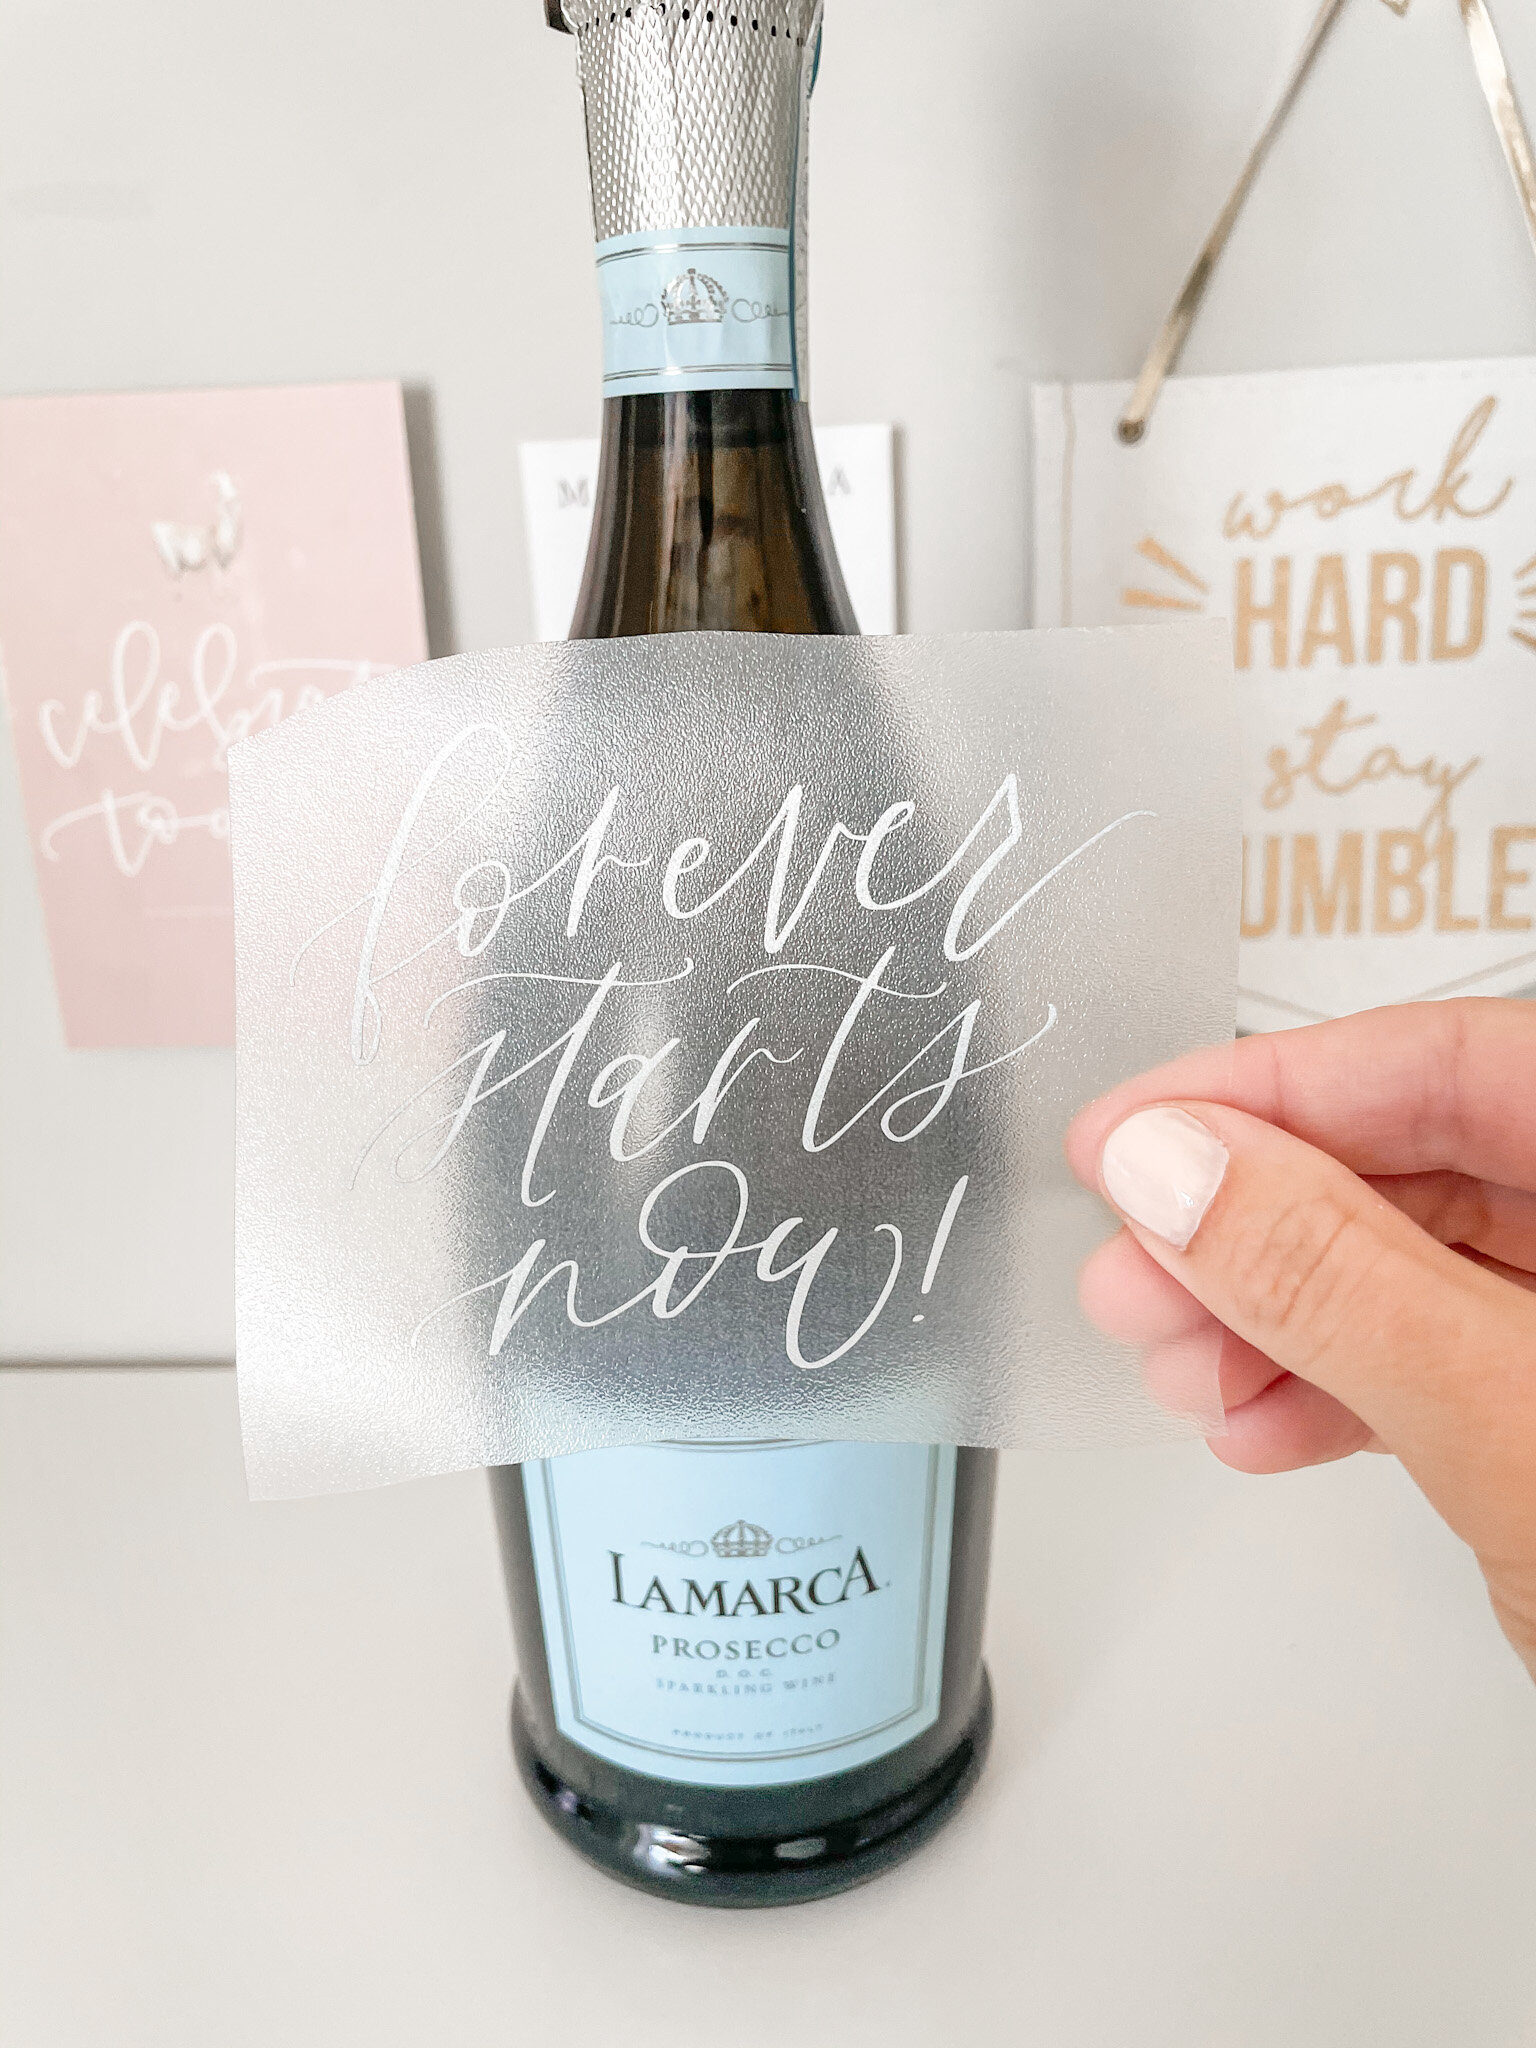

Now, apply your decal to the wine bottle. When applying on curved surfaces, I like to start in the middle and work my way out.
Press firmly with your fingers to ensure the design is stuck on there really well. Slowly remove the transfer tape to reveal your design and celebrate! You did it!


If you try this DIY be sure to share a picture in the comments below or over on social media using the hashtag #brittanylettering so I can see and cheer you on!
For even more ideas follow @brittanylettering , @officialcricut , and @expressionsvinyl over on Instagram!
Happy Crafting!
XO Brittany
*P.S. this post has affiliate links