
DIY Motivational Water Bottle Water Tracker

I don’t know about you — but drinking water is something I’m continually working on. Mom life can get so busy and before you know it the day is done and you’ve barely had any!
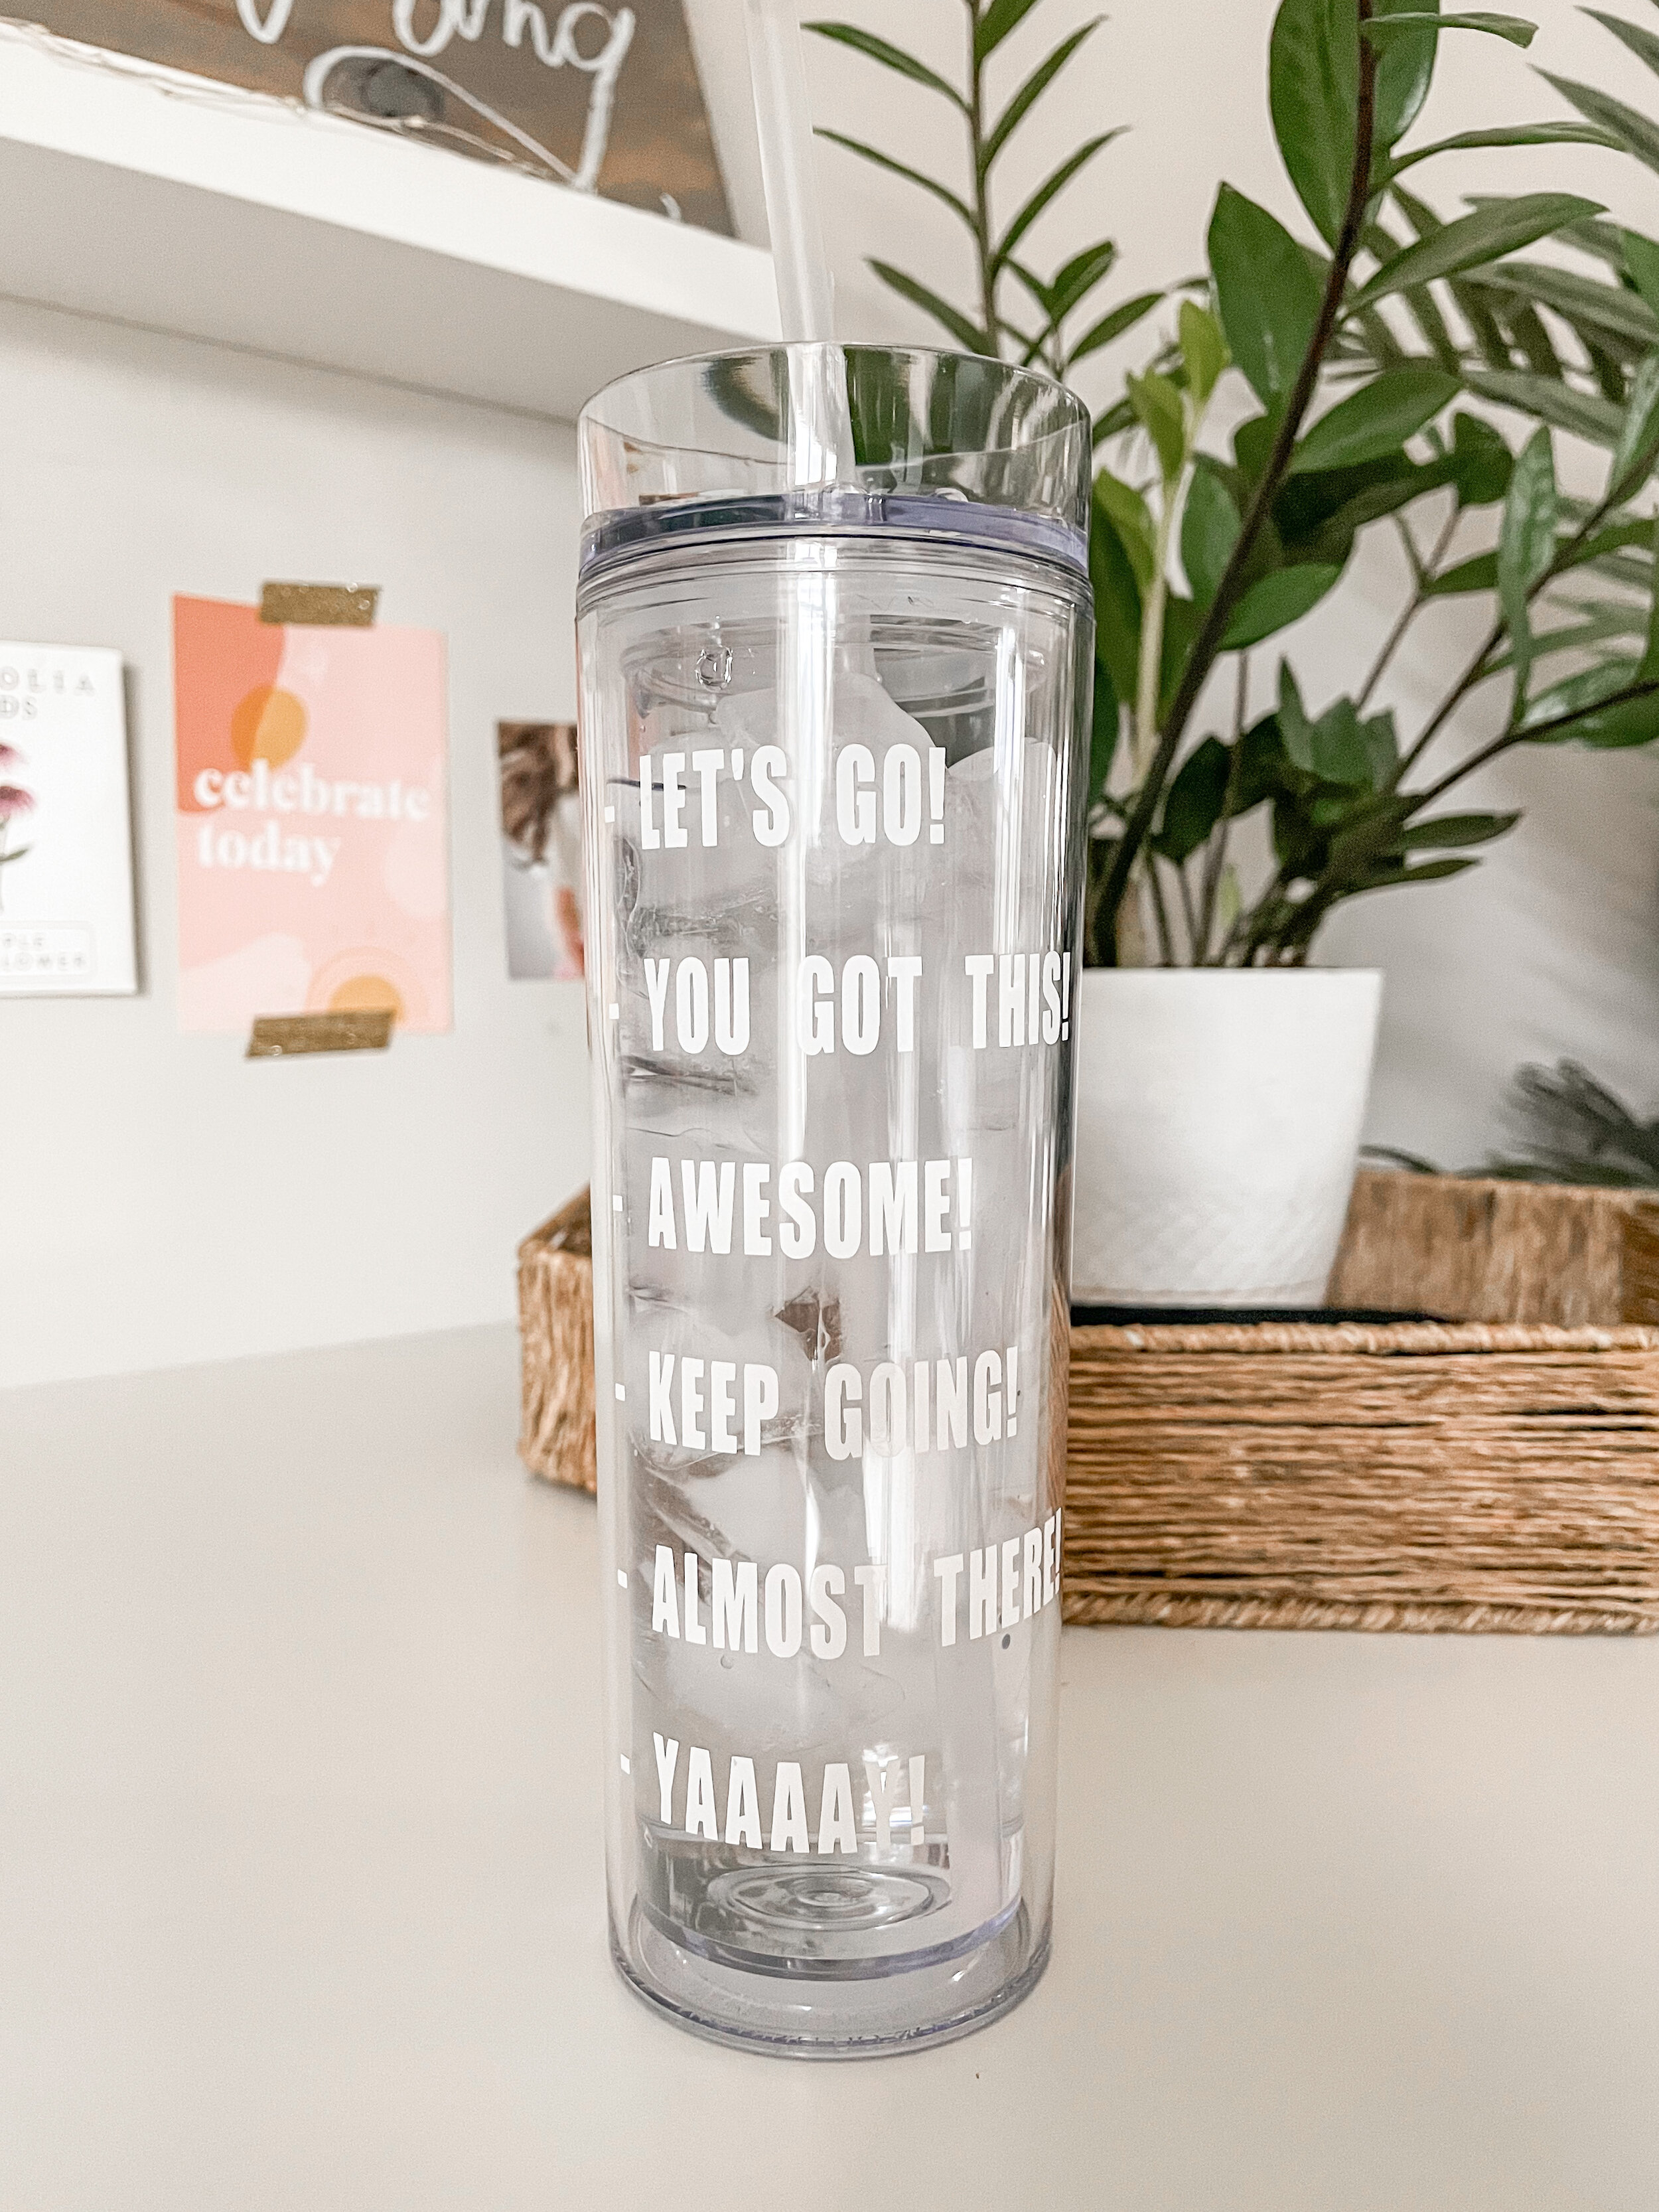
I made this little tumbler and it’s already helping me stay on track. Mine is 16oz (linked below!) so I refill it a couple times a day, but you could certainly grab a 32oz or half gallon container and use the decal on those just as easily!
Grab your favorite water bottle and let’s get started!
What You Need:
Water bottle (this is the MAARS tumbler I used)
PNG design (grab mine on the Freebies page!)
Step One: Design Space
Click Here to grab my free design (it’s also on my Freebies page) , or feel free to use your own!
Open up Cricut Design Space software and click “Upload” to add your new PNG. You’ll be able to browse your computer for the file, or simply drag and drop it in.


Select “Simple” image type and Continue.


If you uploaded a JPG or a file without a transparent background, the next screen will allow you to click and delete the background. If you’ve uploaded a PNG file like mine, you’ll see the blue check boxes in the background indicating that it’s transparent.
Once it’s transparent, click Continue.


Click “Save as Cut Image” and “Save”.


Now your image will be saved in your gallery. Click on the design and “Insert Images”.


Once your file is in your Canvas, you can click the bottom right arrow icon to resize it to fit your tumbler. Use a ruler and decide the size that will work for yours!

You can also click on the little lock button on the bottom left to “unlock” the text and stretch it to the exact size you’d like. I chose 3” wide and 5.5” tall, but you can choose the size that’s right for you!
Once you’re ready, click “Make It” at the top.


Step Two: Cut Vinyl
The next page will show you the exact size vinyl you’ll need. I always round up to the next inch of whatever my design is. I’ll cut a 4” x 6” rectangle of vinyl and place it on my mat.
Load your vinyl onto the mat, then into the machine. Your Cricut icon should blink when it’s ready to go. Click the “C” icon and watch your Cricut work its magic!


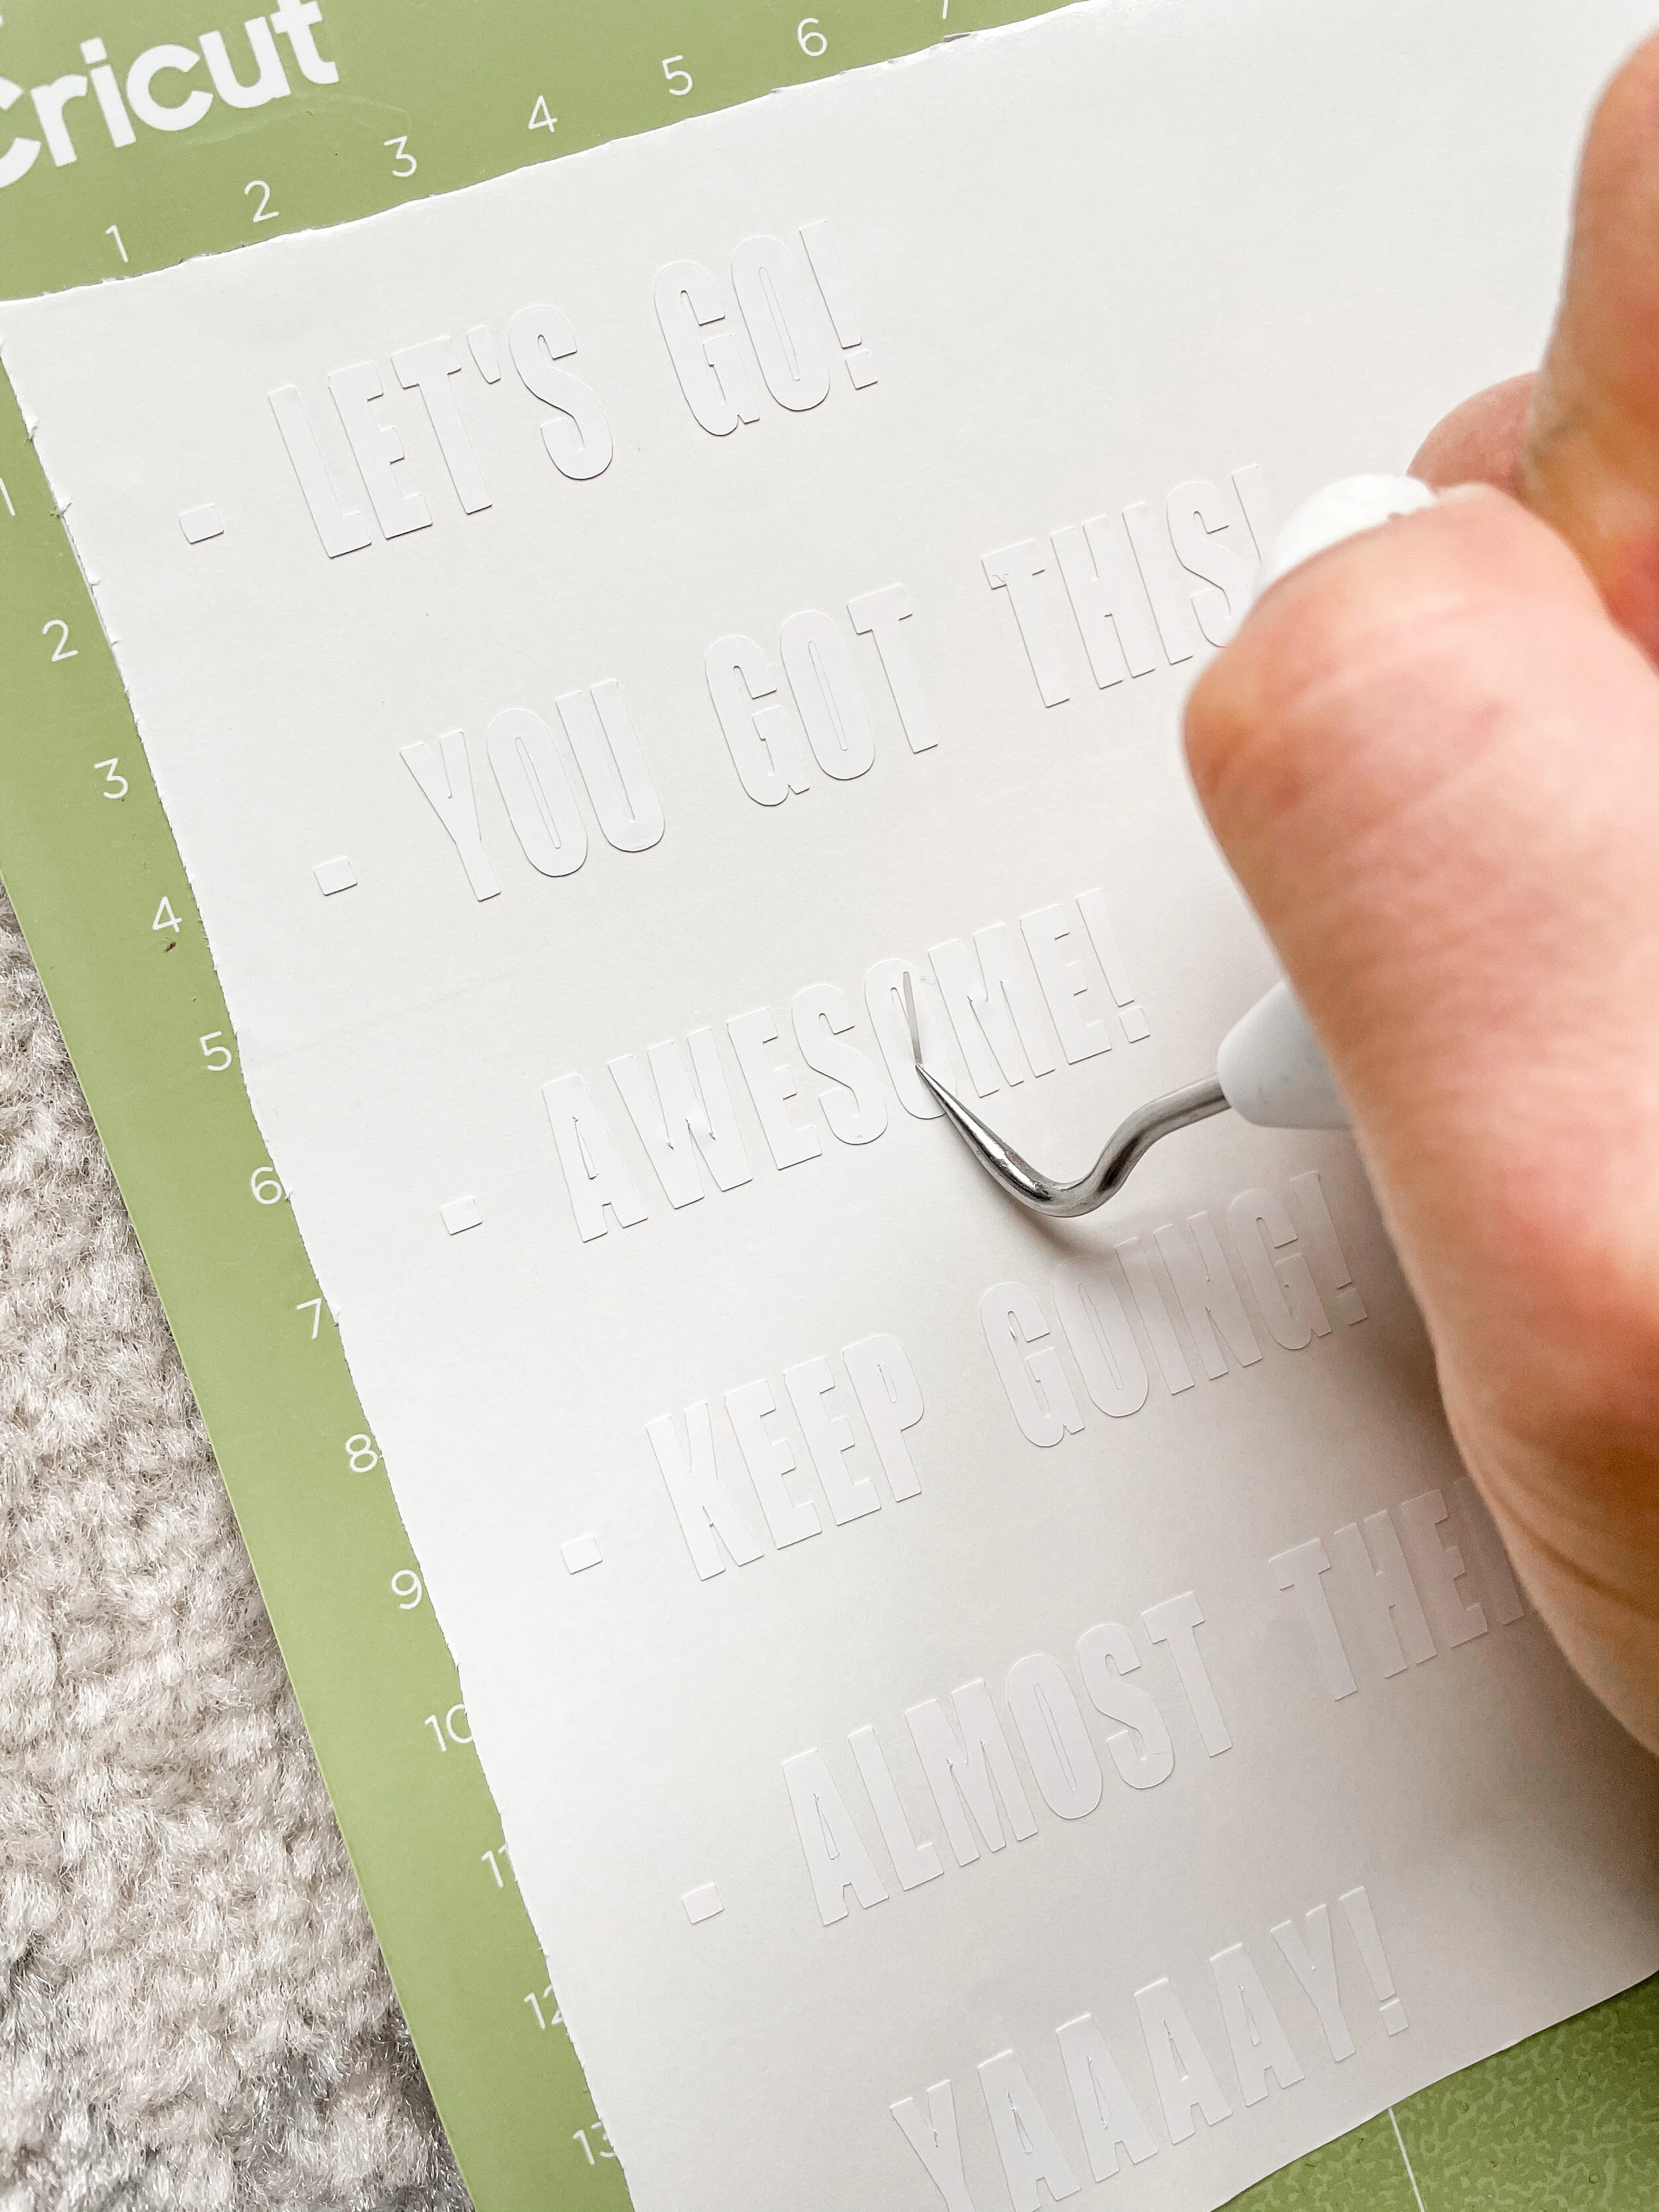
Step Three: Weed Vinyl
Once it’s finished cutting, grab your weeding tools to remove the extra vinyl around your design. Work slow and steady!


Step Four: Apply Decal
Place your transfer tape over top of the design and use your scraper tool to make sure it adheres well. Then peel back the transfer tape and your design should be attached! If it’s not, run the scraper tool back over any spots that need a little more help.


Center your design over the tumbler (slow and steady!) and then use your fingers to make sure the design is adhered well to the tumbler. Slowly peel back the transfer tape to reveal your finished design!
If the design isn’t sticking, use your scraper tool or your fingers to go back over any spots that need a little help.


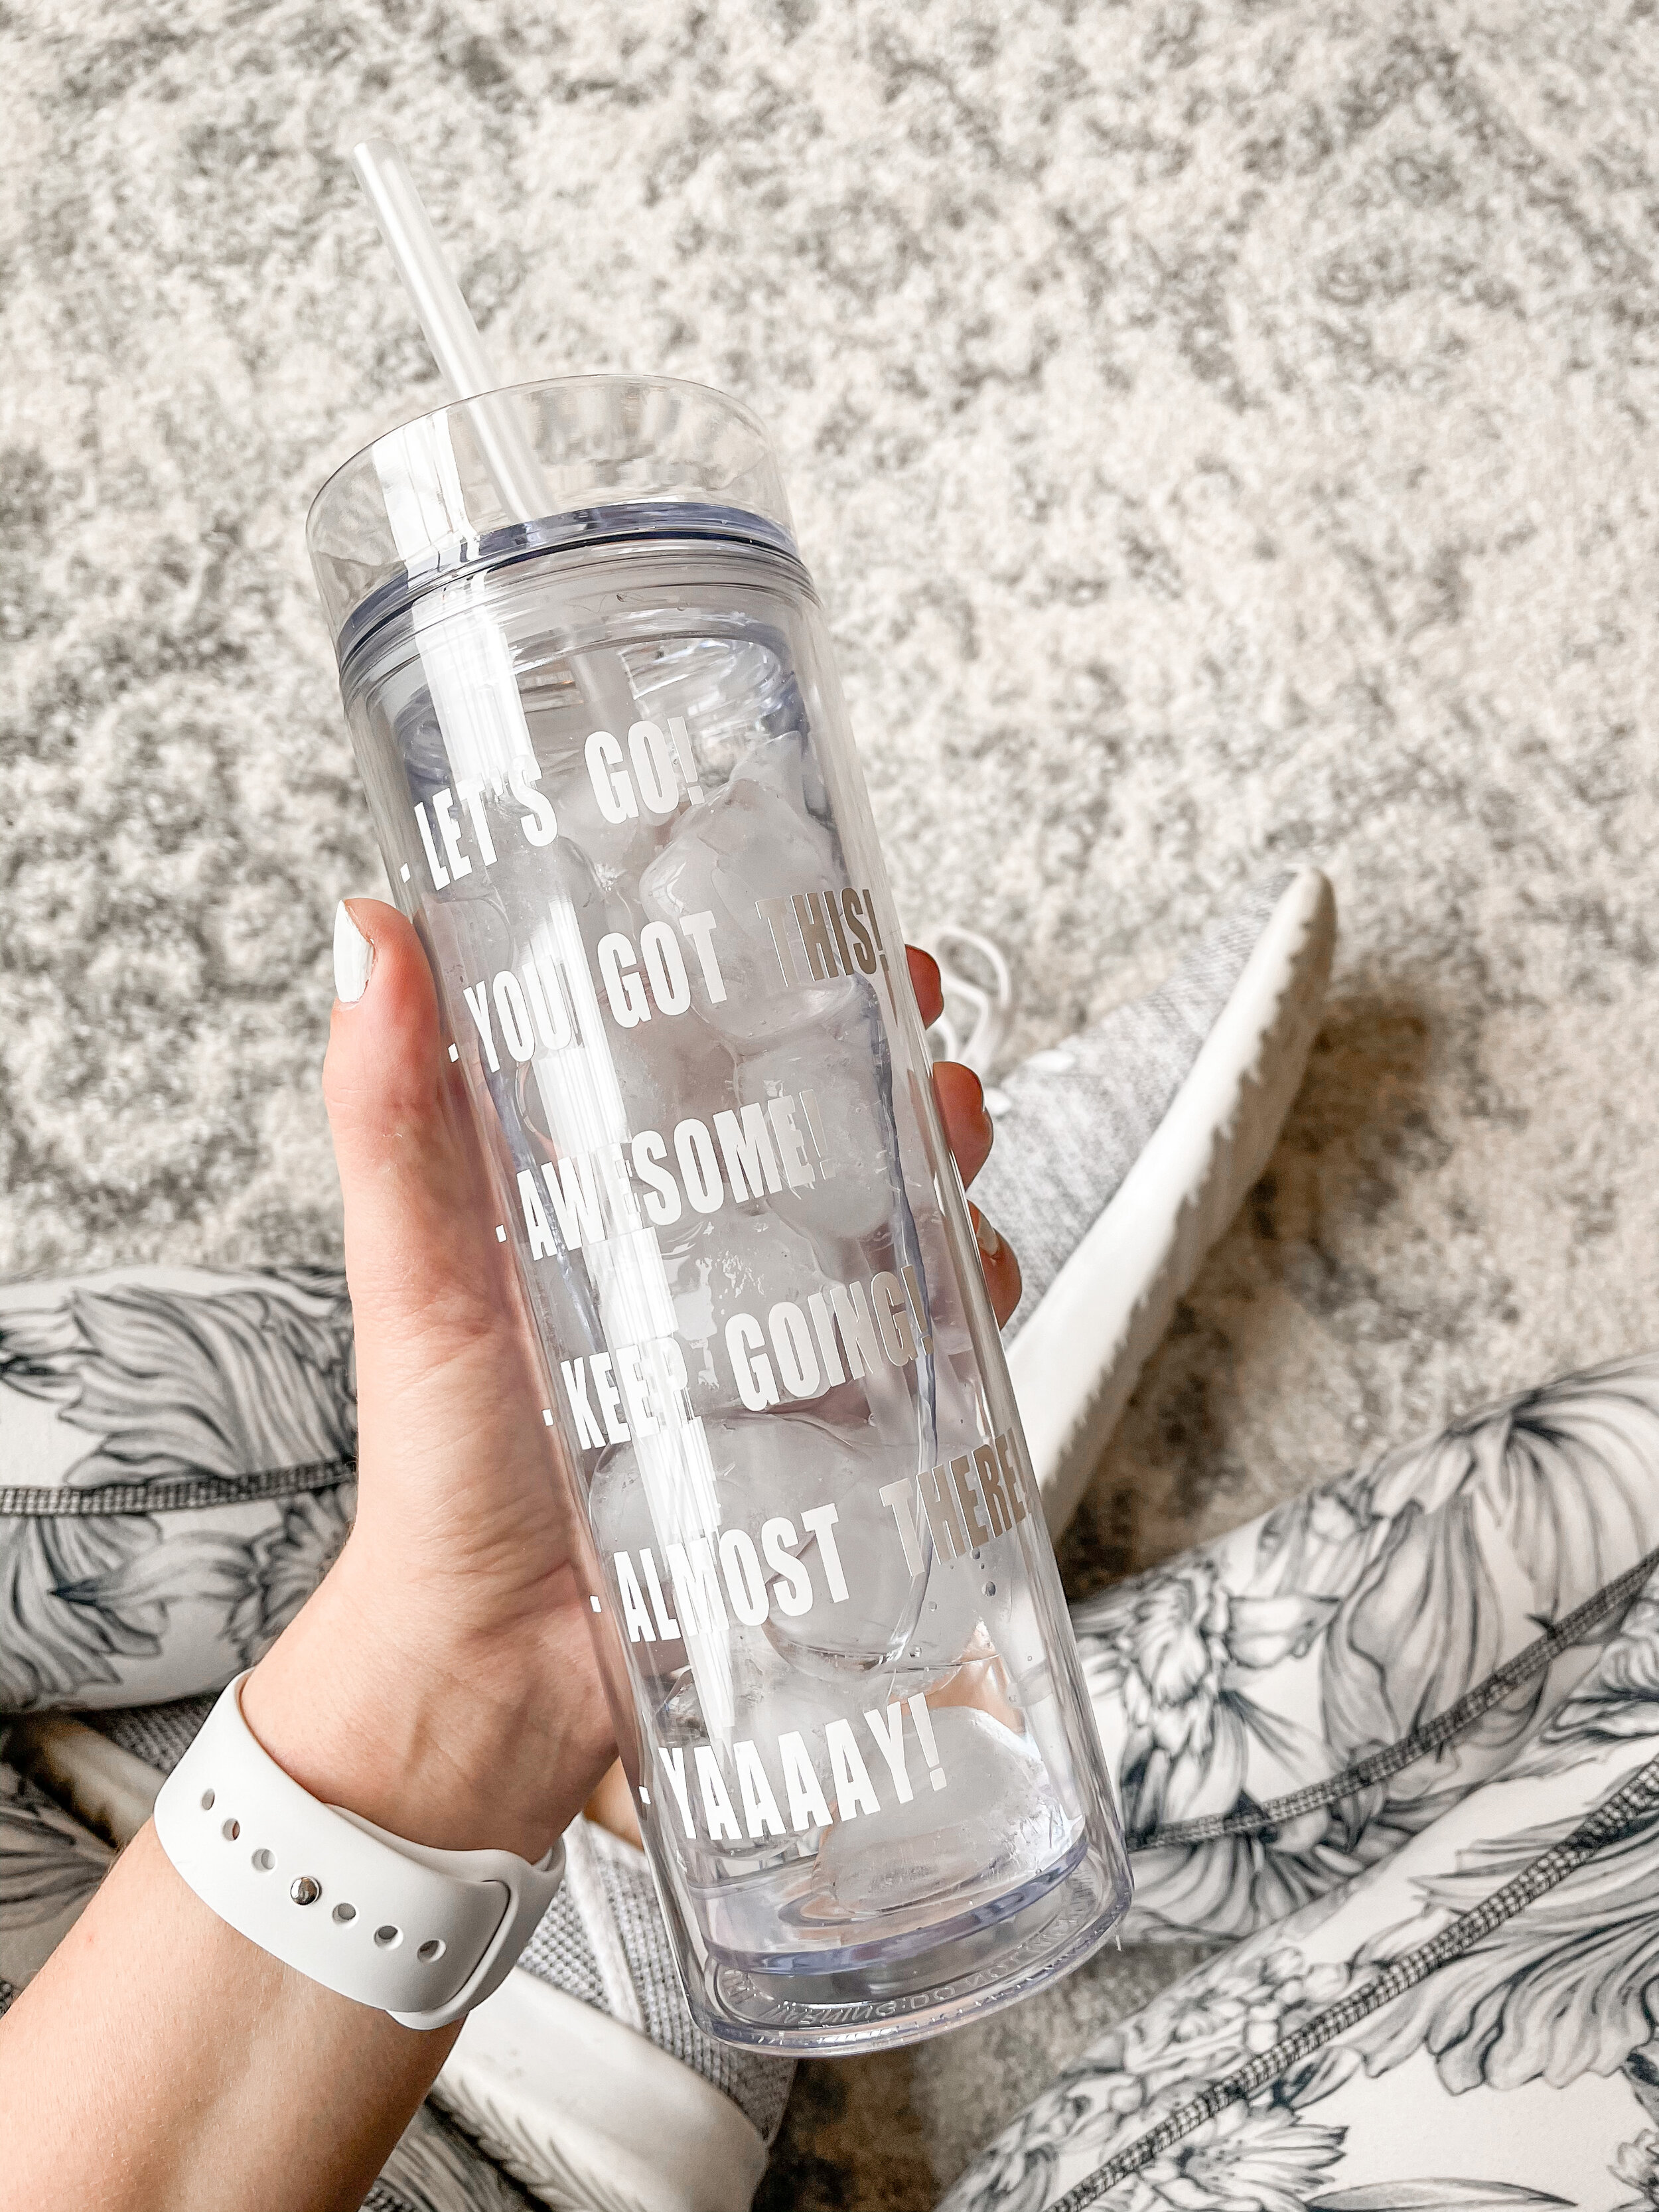
Hooray! You did it! Now fill her up with water and stay on your hydration game!
If you try this DIY I’d love for you to share a picture on social media & use the hashtag #brittanylettering! For more ideas, follow @brittanylettering, @officialcricut, and @myvinyldirect over on Instagram!
Be sure to head over to the Etsy shop to find even more fun designs for your projects!
Happy lettering & crafting!
XO Brittany
**this post contains affiliate links